
Warning, super super picture heavy post!! I have step by step (by step!) pictures for making this awesome easy(ish) drawstring backpack! And may I say, wow blogger took FOREVER...

Alright, most of the directions are on the pictures, and each picture is numbered. I refer to picture numbers in a couple steps :)
Materials:
Yardage requirements for 1 fabric bag(straps/casing/body all one fabric): 3/4 yard
Yardage requirements for 2 fabric bag(pictured): 1/2 yard for body, and 1/2 yard for straps and casing
Matching thread
Important!!! IRON YOUR FABRIC before you cut it out. It will make your life soooo much easier.
Cut sizes:
Bag body 14" x 30"
casing 4" x 14" (cut TWO)
straps 4" x 34" (cut TWO)

I use something called french seams on the body of this bag (pictures 2 and 3). You can just serge it if you want, but I like the finish of french seams for the inside of the bag.


Now time to prep the top casing:

And now the straps:


Ok, back to the casing.


Alright, now to attach straps to bag body. I apologize for the somewhat crappy pictures and instructions for the straps. I realized midway that I should have had the bag turned how it is in pic 18 so it would make more sense...

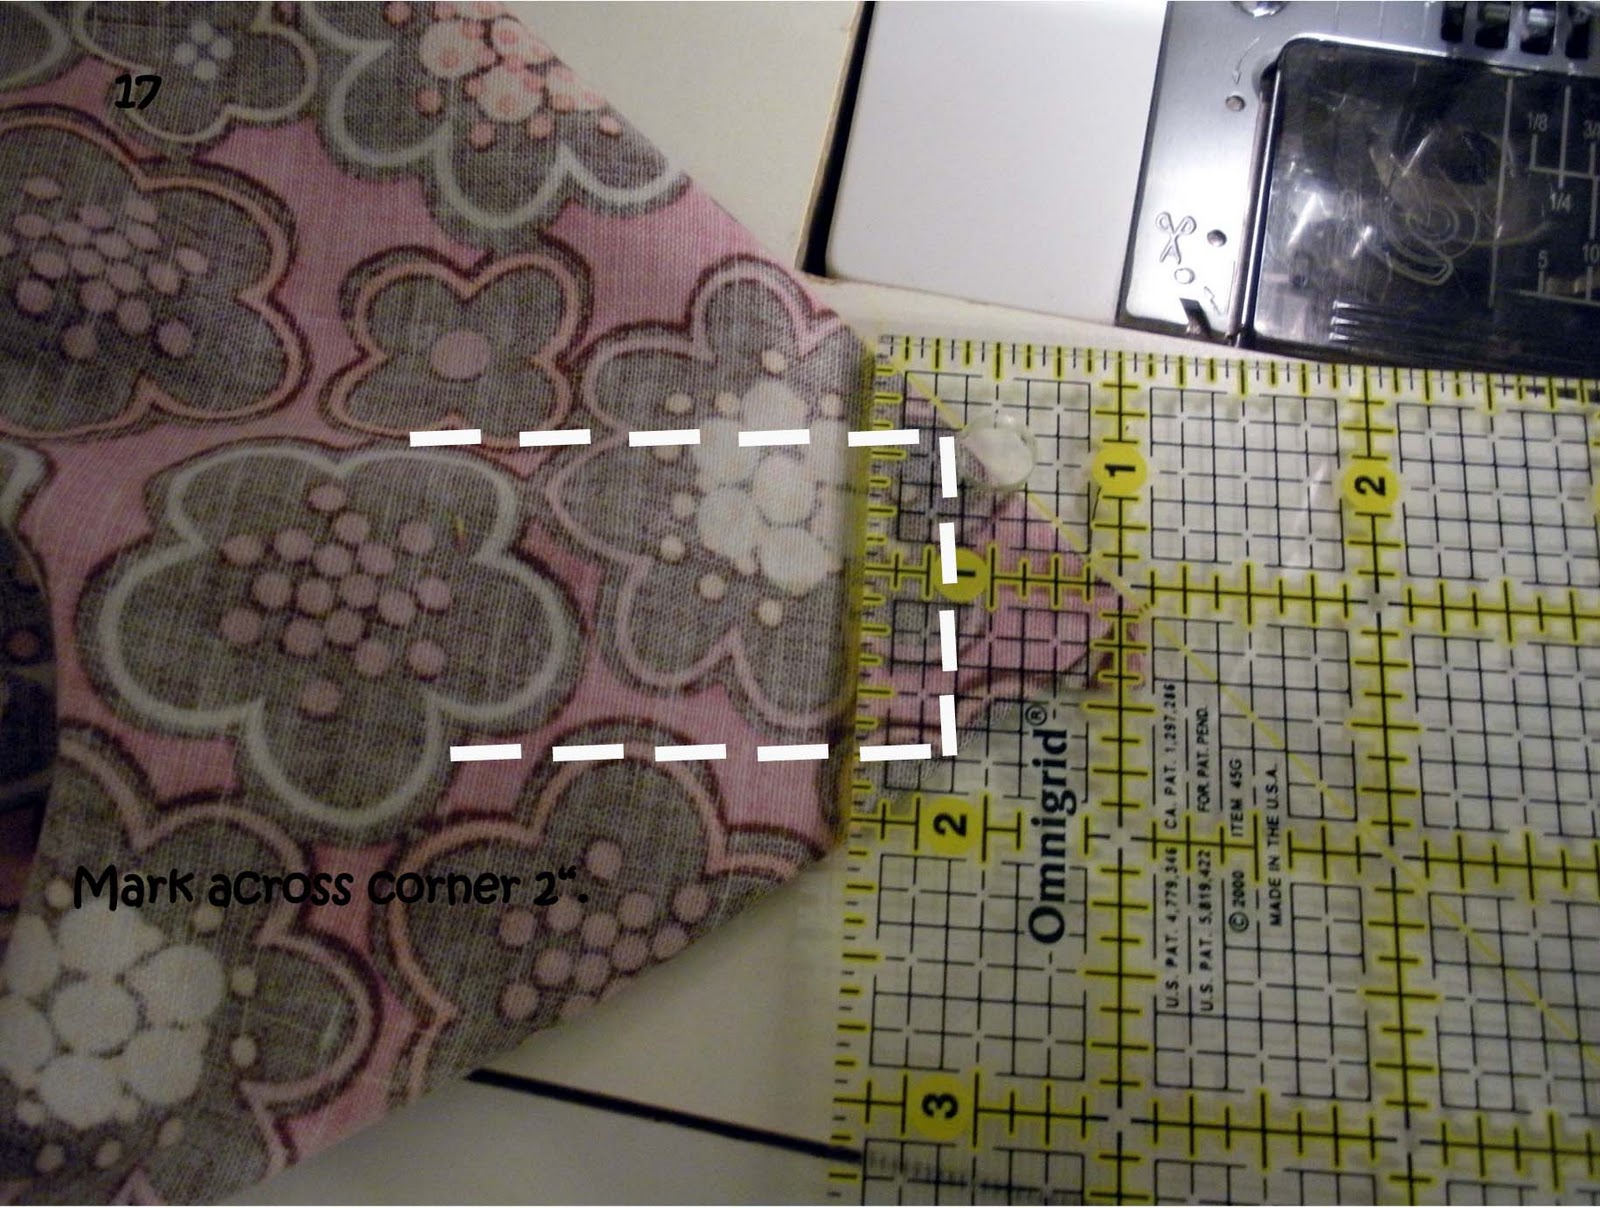


Time for the casing!


As always, if you have any questions or need clarification or whatever, leave me a comment or shoot me an email! I'm finishing this late at night, and it makes sense to me now...I will definitely need to proof it again in the morning! :)

2 comments:
I like how the straps come out of the bottom corners all nice and pretty-like. Lovely :)
Thank you fro the grreat tutorial! I'll be making one for my niece (o:
Post a Comment